Detailed NES-004 (Controller) PCB Pictures
2015-04-11 14:54 - Making

I've been continuing work on my nesRF project, slowly. It's time to start modifying the original NES controllers, part number NES-004. I need to plan out the PCB, to get everything lined up exactly correct. All the mounting holes of course, plus the overall shape, makes it fit into the original plastic shell correctly. Then I need to know where I can put all of the components, without bumping into any of the plastic supports or structure, the buttons, and so on.
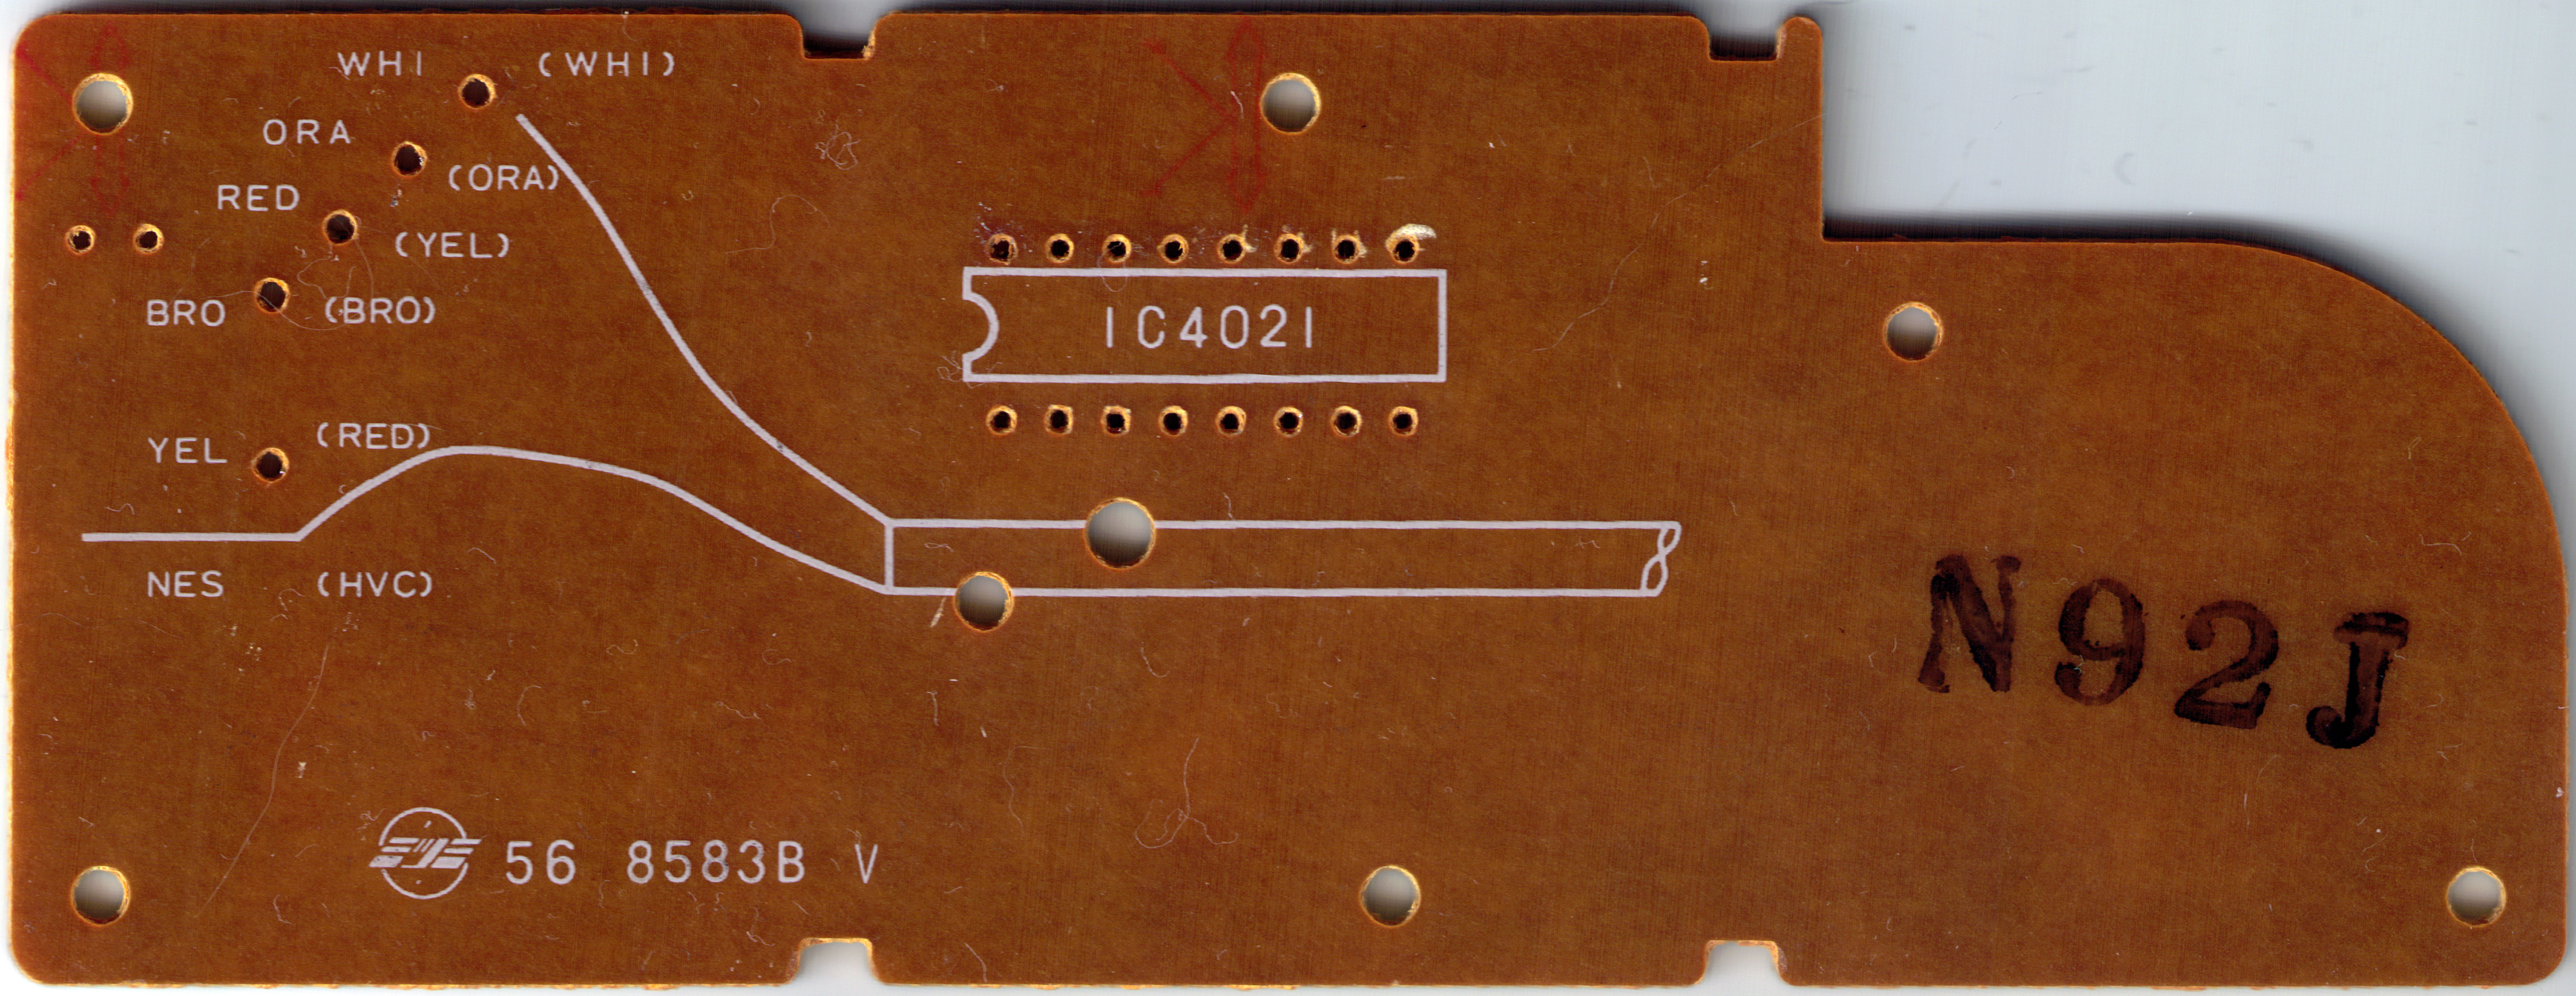
I haven't found a similar project online to start from, like I did for the SNES version I started with. So here's the beginning of this phase. I took the original PCB out of the controller, removed all the components, and put it into my scanner. The full size images that the thumbnails above link to are exactly 1000 DPI, making planning sizes in mil (thousandths of an inch) hopefully straightforward.
There's a fairly good amount of room to work with. Almost everything above the start/select and a/b buttons is empty space, with just a few sparse supports to get in the way. Locating most of the parts should be straightforward. I'm worried about my power button though, the vertical arrangement of this controller may be incompatible with that part.